For all 5 cylinder Garrett turbos on 300SD 300D 300CD and 300TD 1978 to 1985. Printed 24 page instruction manual included.
Product Details
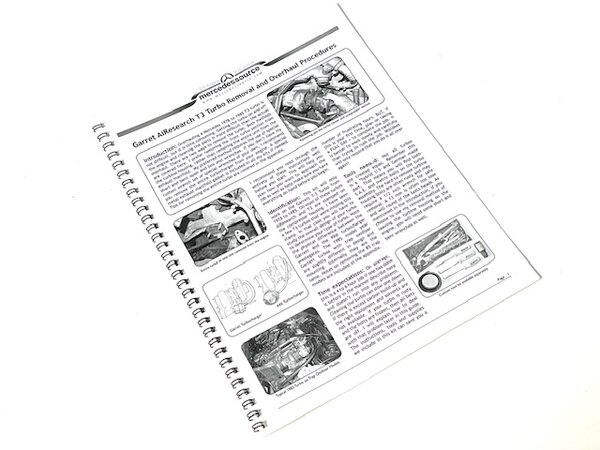
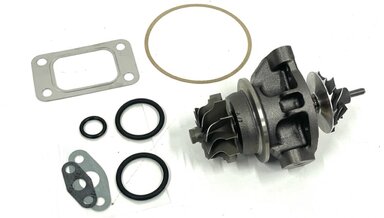
We are proud to offer the most complete and D.I.Y. doable high performance 617 turbo repair kit available on the market today. For optimal turbo performance, this is a service that should be performed every 100,000 miles (watch my video for explanation). We call it high performance due to the improved 360-degree thrust bearing assembly included(see detailed explanation below). And there is no kit anywhere for any price that has such a complete step-by-step PDF manual for those who want to do it themselves!
Many acceleration and power performance problems can be traced back to a faulty or poorly performing turbocharger. Many owners are quick to try to adjust the ALDA, injection timing, or perform other maintenance before considering the turbocharger. Many times if you just service the turbocharger you don't have to mess around with the mixture or ALDA adjustments. If your turbo has not been opened up sometime in the last 100,000 miles I guarantee you will be surprised at what you find when you go to overhaul it. This job is time-consuming but not rocket science. I have tried to provide a kit with all the parts you need and clearly written instructions to help you get the job done right. If you can replace a diesel water pump you can do service a turbocharger!
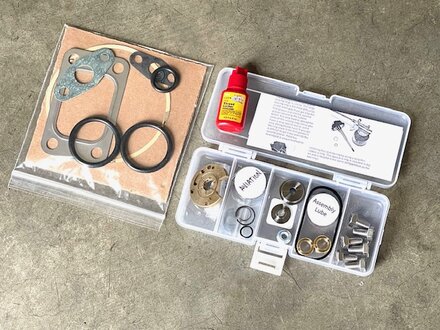
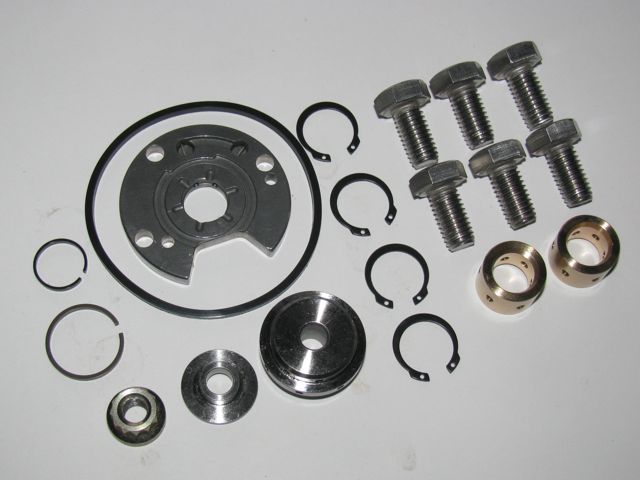
Kit contents: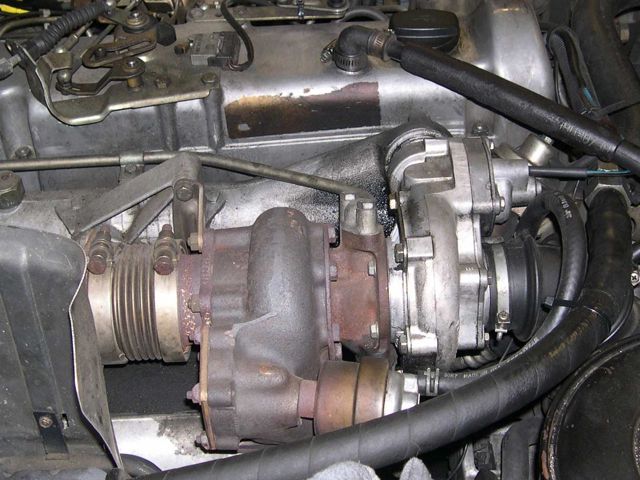
- Turbine shaft bushings and snap rings
- High performance 360 degree thrust washer assembly
- Front and aft oil seal rings
- New Compressor Wheel Nut
- 6 new bolts for center section to turbine housing
- Rubber center section to compressor round seal
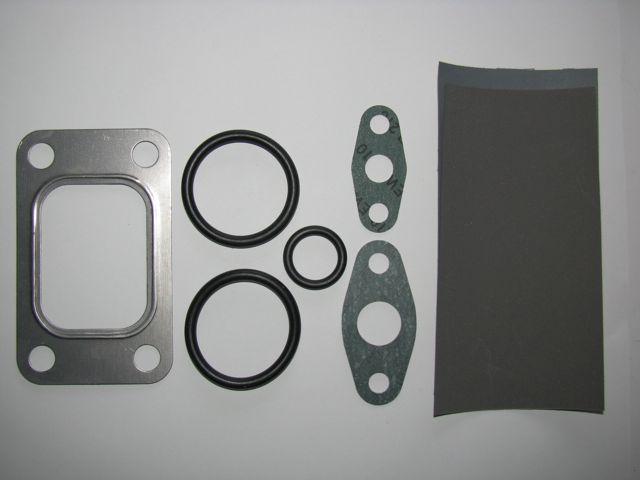
- Metal turbocharger to exhaust manifold gasket
- Oil inlet and oil outlet gaskets
- Round compressor housing gasket
- 2 large o-rings for turbo to intake manifold coupler
- 1 small o-ring for oil outlet drain tube
- 1200 to 2000 grit wet-or-dry sandpaper to polish bearing surfaces
- Red-Line Assembly Lube
- Oil inlet pipe gasket cement
- Red thread locking compound for turbine shaft nut
- Printed step-by-step instructions to remove, disassemble, clean, repair, assemble and mount turbo back onto the engine
The two large o-rings in the kit are for the compression to intake manifold coupling. You will note that the coupling is not the same size on both ends, but the o-rings are the same size.
Rest assured you can use either o-ring on either end. The larger diameter end accepts the same o-ring with a “little more” stretch.
Our center section bearing (journal bearing) measures:
OD (outside diameter) 15.68 mm
ID (inside diameter) 10.15 mm
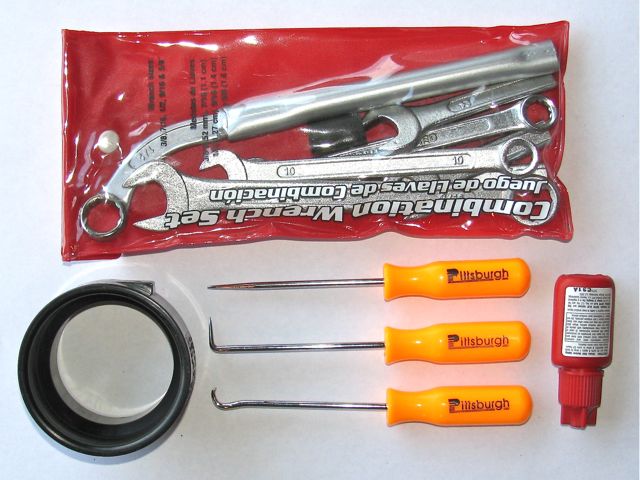
Gaskets, seals and polishing paper included: Complete turbo service replacement parts included:
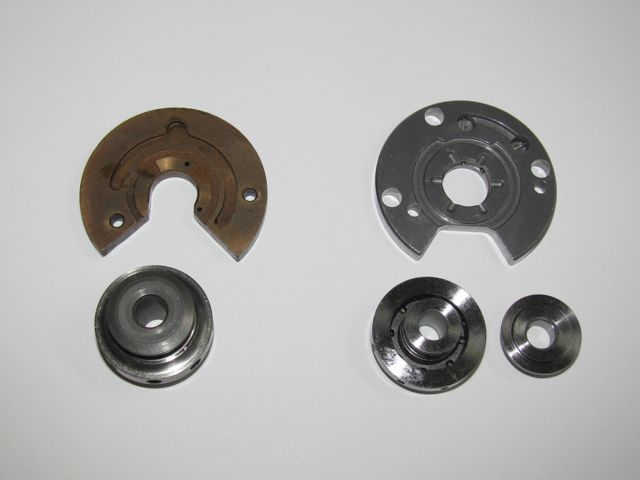
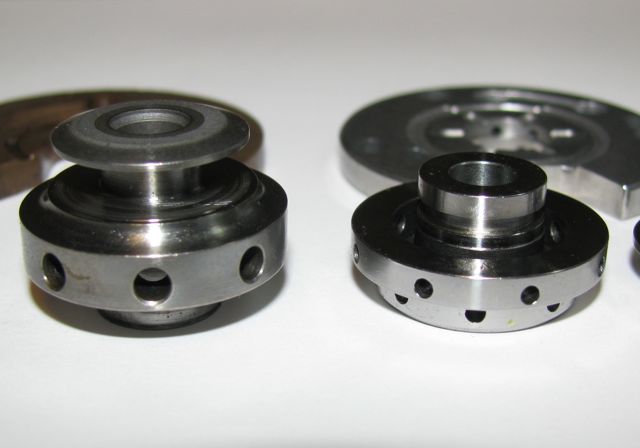
Standard vs. High Performance: The images below will show you the difference between the factory original 270 degree thrust bearing and the high performance 360 degree thrust bearing offered in our kit. The standard 2 piece thrust bearing is on the left and the re-designed 3 piece 360 degree bearing is on the right. As you can see this upgrade provides more bearing surface which results in a more even load and longer life. The original was made of a bronze alloy and is prone to wear under heavy load. The new 360 degree bearing is made from a tougher alloy and designed to allow more oil to flow through the bearing surfaces. Worn thrust bearings are one of the leading causes of turbo "whine." We feel if you are going to take the time to rebuild your turbo, go the extra effort and expense to install this performance upgrade.
Other Items You May Need:
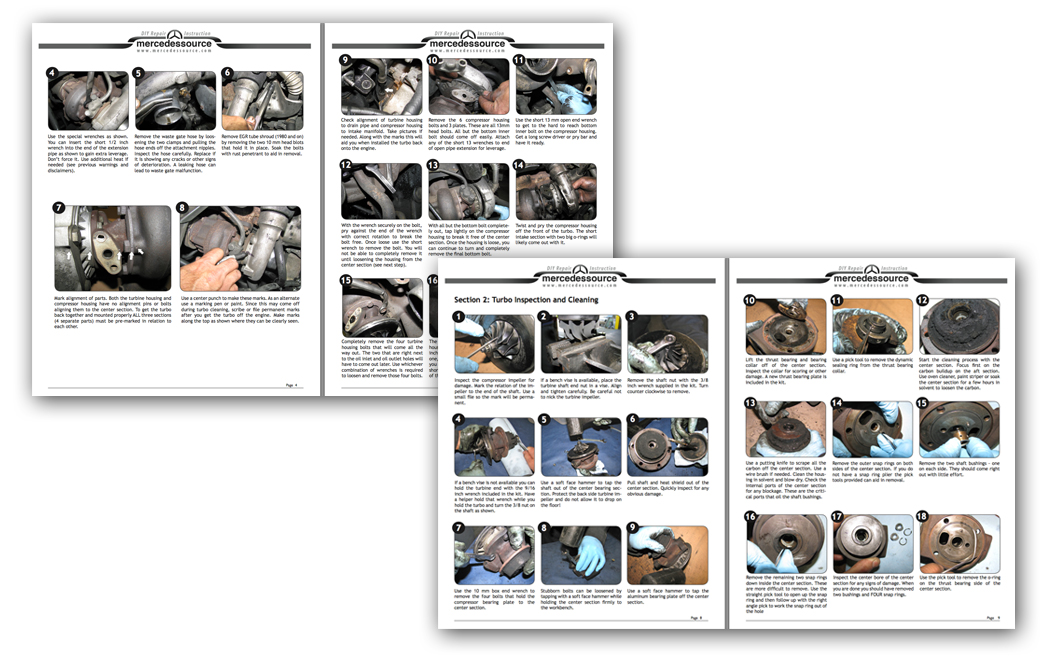
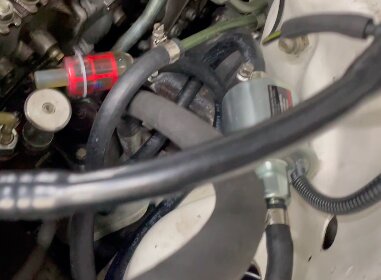
1. Assorted S.A.E. and metric wrenches: There are two (2) ways you can disassemble the 617 turbocharger for repair.
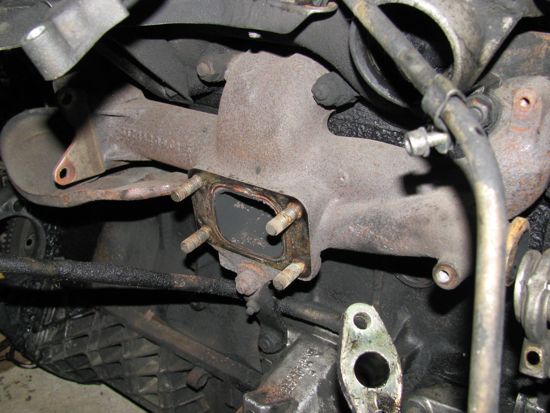
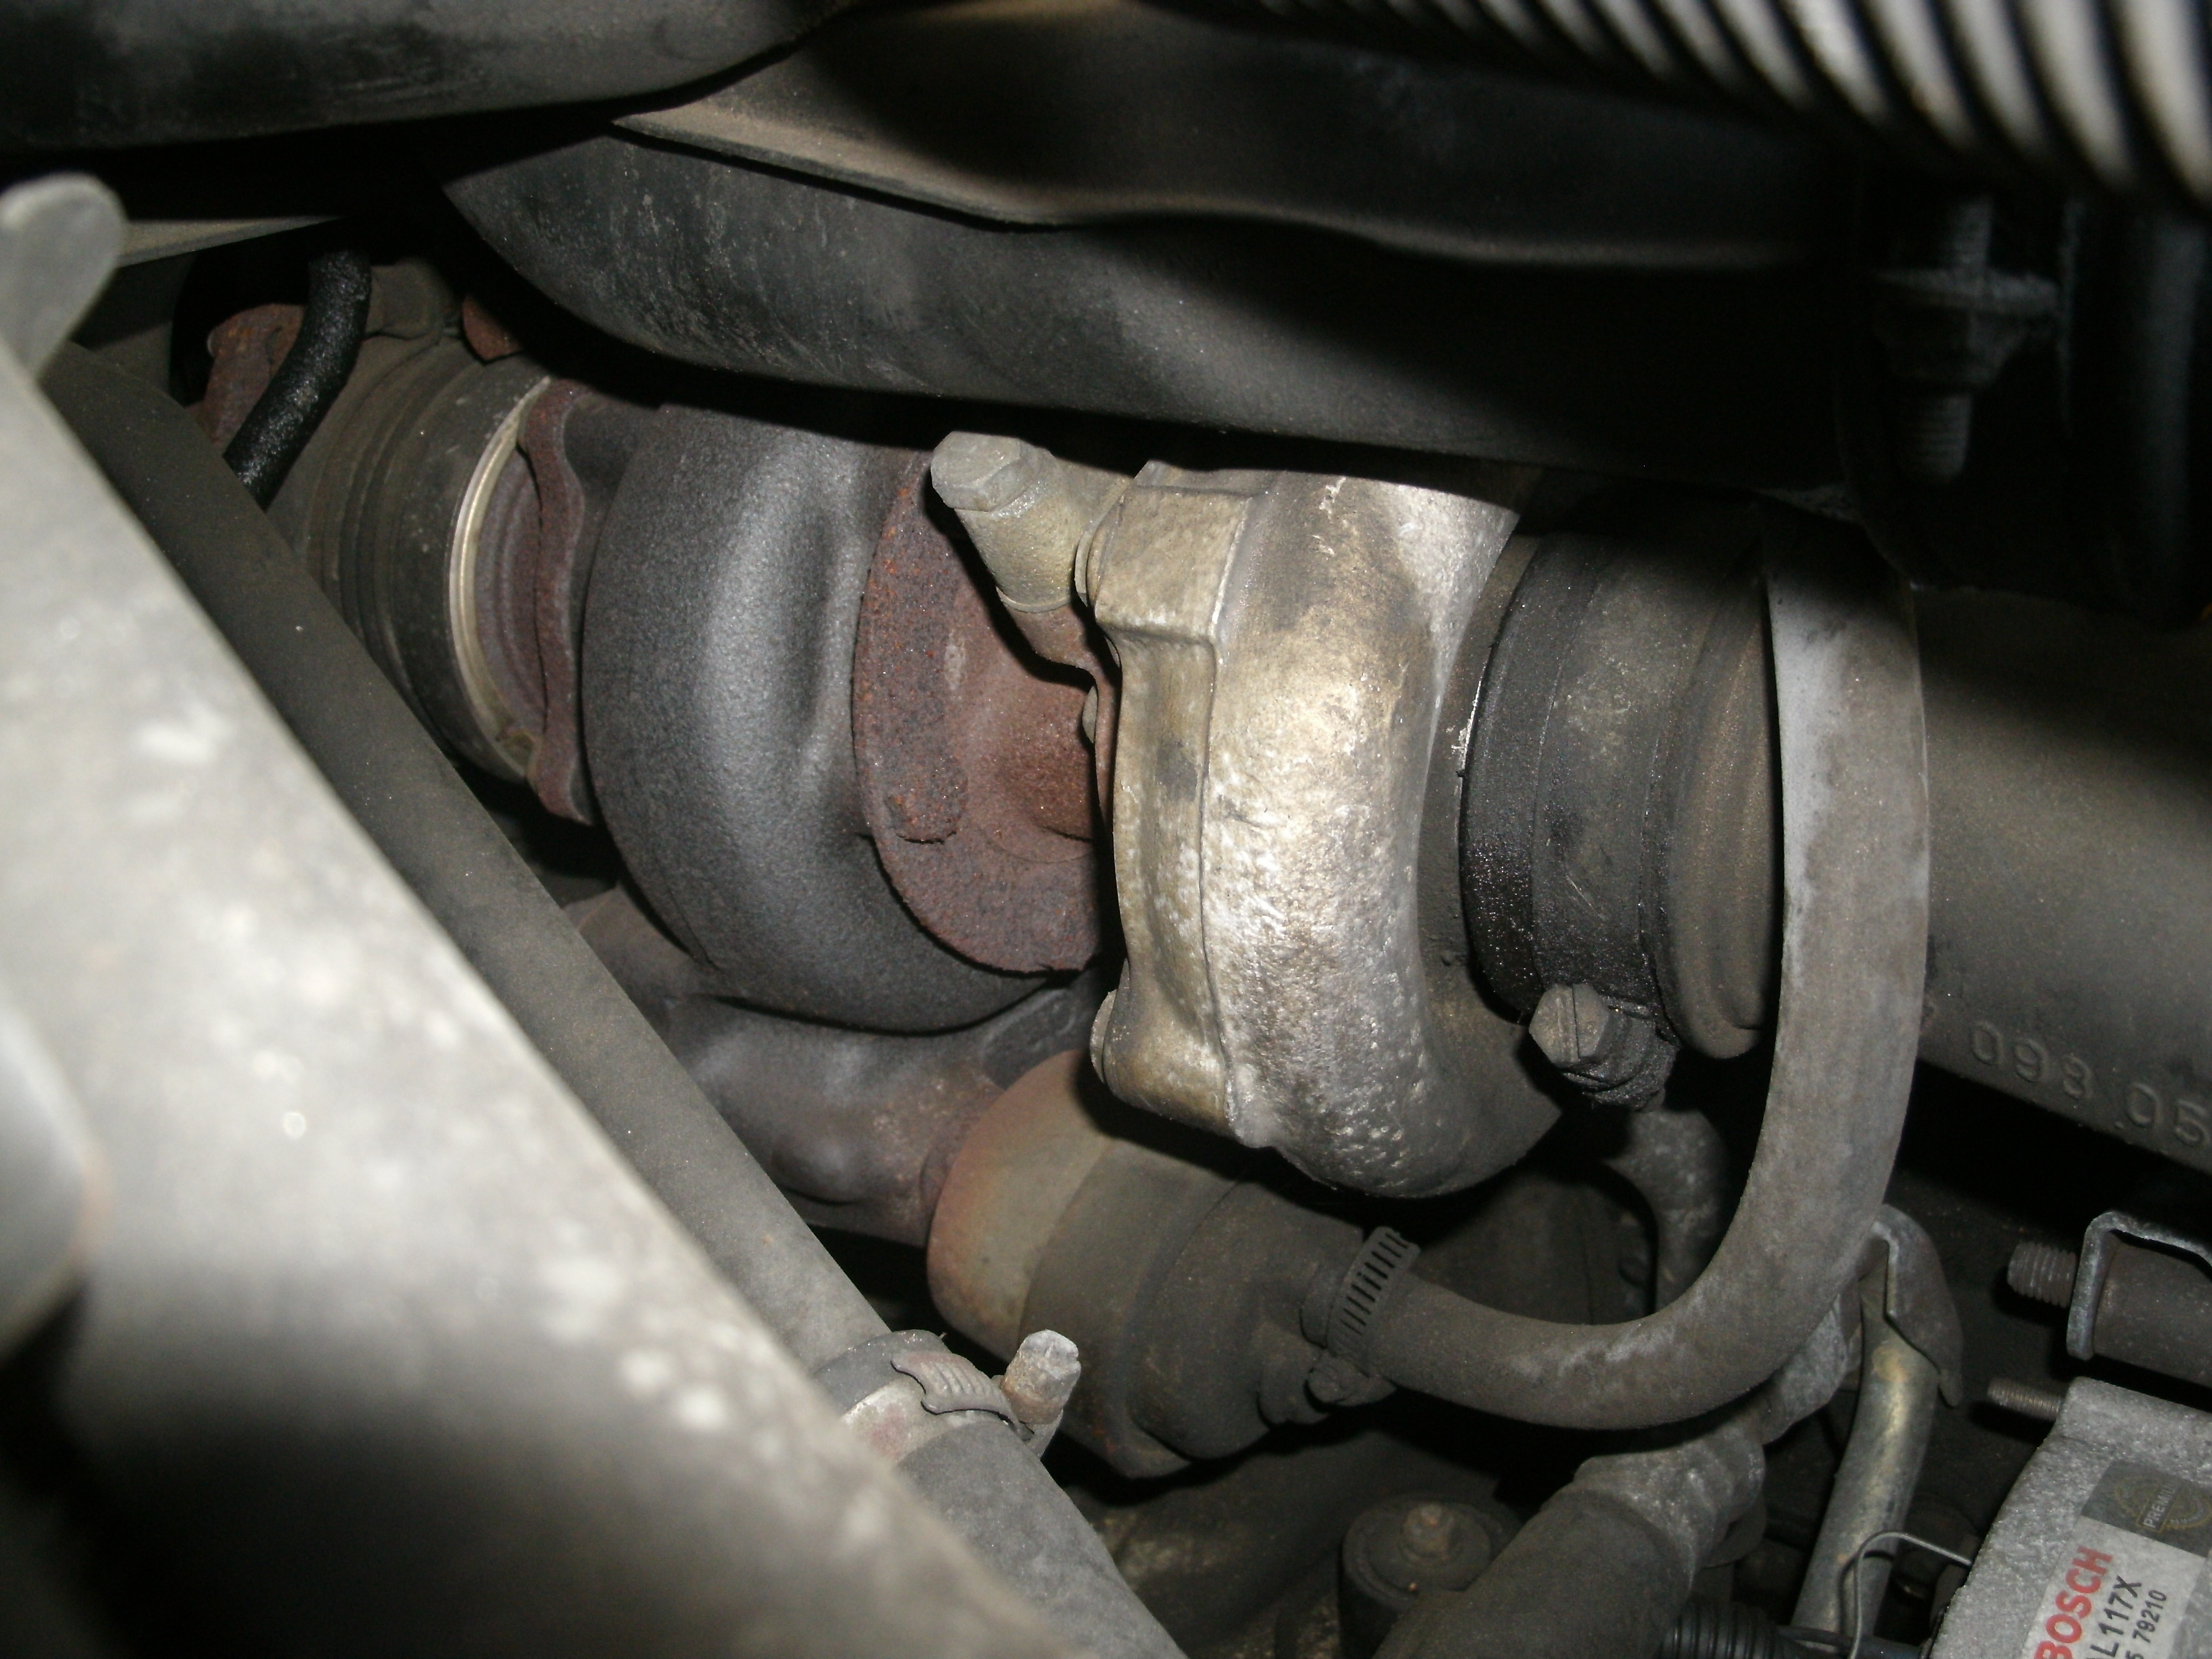
A. You can remove the entire unit from the exhaust manifold (as shown the top picture right) and work on its complete disassembly on your workbench. This method takes a little longer but will not require any special or custom made tools. But it will require a way to hold the complete turbo securely while you try to take it apart ( such as a big vice). We include a metal exhaust manifold gasket in all our kits that will allow you to choose this method.
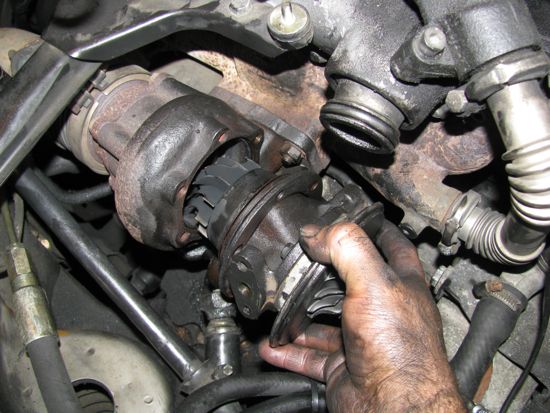
B. The second method (which I prefer) is to remove just the center and compressor section leaving the turbine housing on the engine (shown in the lower picture right). If you know what you are doing this method is faster and gives you better leverage to remove stubborn bolts (since the turbo is mounted to the engine). During reassembly, this method allows for quicker and more precise alignment of the different sections when you go to mount the turbocharger to the engine. For this second method, you will need some short and curved wrenches to get access to all the bolts. If you want to try this method and do not have a good assortment of special wrenches then I recommend you purchase our special turbocharger toolkit (listed below).
2. Very small snap ring plier set or small pointed pick tools: This will allow you easy removal and installation of the four very small snap rings that hold the bushings inside the center section. You will also need a curved pick tool that has a sharp point so you can scrape the carbon out of the sealing ring grooves. If you don't have these tools we include three pick tools (two are specially modified).

NOTE: To purchase our custom turbo overhaul toolkit look below
3. Turbocharger Boost Pressure Testing and Tuning Kit is available separately. (Look below to order) Recommend you get this testing kit so you can adjust boost pressure properly once you overhaul your turbocharger.

4. Turbo oil drain pipe seal kit: Unless you have done so recently, also recommend you replace the turbo drain pipe seals that connect the pipe to the engine oil pan. Let me tell you - it is a ton easier to replace these seals with the turbo off the engine!!!! LOOK BELOW TO ORDER DRAIN TUBE SEALS.
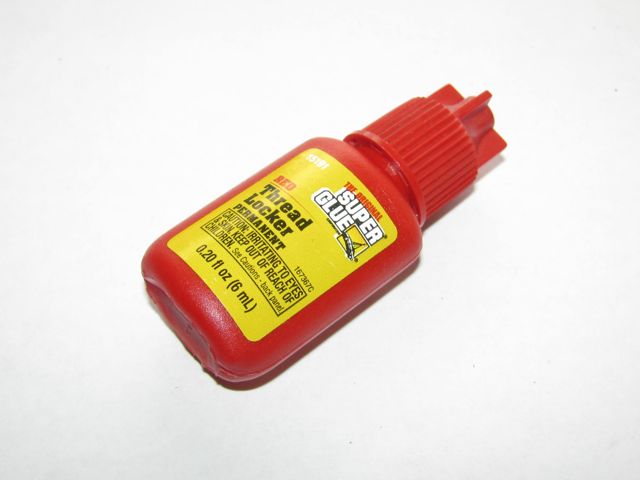
5. Red permanent thread locker. If you don't purchase the toolkit or have one in your own stock you WILL NEED this for proper turbo assembly. (listed below)
6. IMPORTANT: IF YOU TURBO HAS MORE THAN 200,000 MILES ON IT.
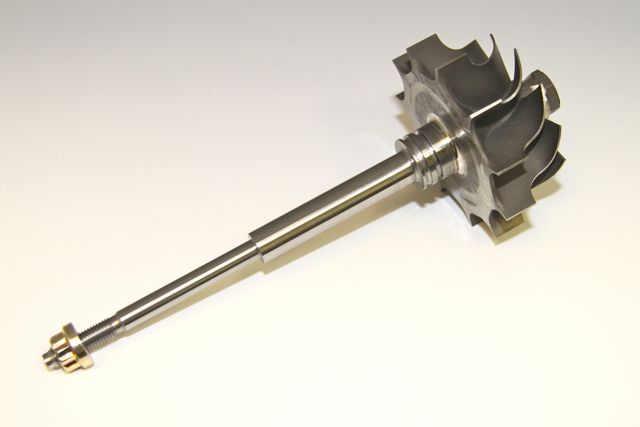
We have found on high mileage turbos that the sealing ring groove on the aft section of the turbine shaft is more often than not worn beyond acceptable limits. If you install a new oil sealing ring on a worn shaft expect higher than normal oil loss out the rear of the turbo as well as excessive coking. You may end up doing the job again soon. We offer a brand new balanced turbine wheel and shaft that you can purchase separately. Better to have it on hand than to have to wait for it after you pull your turbo all apart.
included free and......WHAT NO ONE ELSE PROVIDES! Illustrated image-by-image PDF download instructions show clear details of every step of the overhaul process. These instructions are not available anywhere else and in time savings alone could be worth more than the cost of the kit.
PLEASE NOTE: This kit will only work on Garrett T3 Turbos. It will not work on the KKK brand found on some Mercedes diesels. The differences in the two types are shown in the picture below.
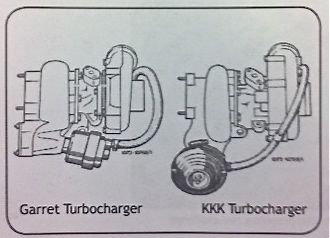
Here is a view front under the air cleaner housing. Note the Garrett wastegate controller is mounted facing forward with the hose coming out of the top front. The KKK wastegate controller is mounted further back and pointing to the side (with longer wastegate hose.
Special note: The gasket we cut if sized to fit very tight (important) and the material tends to shrink ever so slightly in storage. If you find this the case when installed just place gasket in warm water and then carefully pull over the edge of the housing and let dry before bolting the parts together.
WASTEGATE ASSEMBLY ALERT:
When you rebuild your turbo you will want to check the operation of your wastegate and check/adjust the boost pressure after you reinstall your turbo. We have a video on how to open up, inspect and test your wastegate. This video is included free if you purchase our 200K kit. It is NOT included with this basic kit. See related products below for more information on this video and our turbo boost pressure test kit.
Please note: Currently we do not have a source for new repair parts for the Garrett T3 wastegate assembly. We realize the problem here and need to warn you if your wastegate needs replacement parts you will need to look for used replacements. Most of the time we are sold out of these used parts.
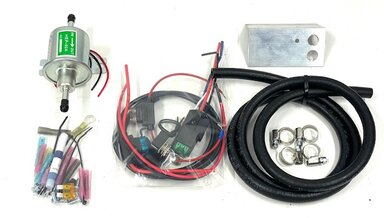
If you want faster and smoother cold starts, easier bleeding, and more power under load, consider installing an electric fuel boost pump inline between the fuel tank and the injection pump on your old diesel. It takes the strain off the mechanical lift pump, which is always trying to suck fuel up to the engine from the tank. Other diesel manufacturers have done this! See related products below for our inexpensive and easy-to-install DIY kit.
Related Products:
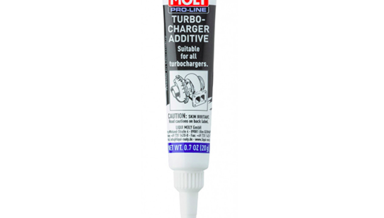
Liqui Moly Pro-Line Turbocharger Additive
1978 to 1984 OM617 New Assembled Replacement Turbocharger
ALL NEW PARTS INSTALLED BY US! We assemble and check fit and tolerances. Kent's written instruction manual included. WARNING: Only fits engine with Garrett turbos. Will not work with KKK turbochargers.
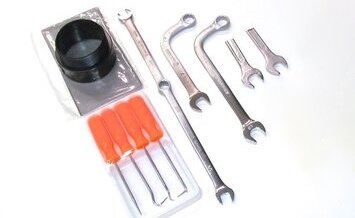
617 Diesel Garrett T3 Turbocharger Custom Overhaul Tool Set
This set of special tools is designed to help speed the removal and ease the overhaul of a Garrett T-3 turbocharger on a 617 turbo diesel engine.
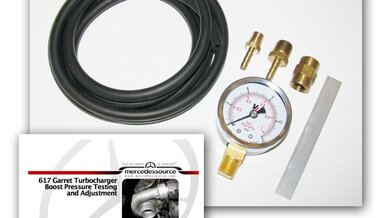
617 Diesel Turbocharger Boost Pressure Test and Tuning Kit
With this kit, you will be able to hook up a pressure gauge to your intake manifold and route it inside your car for the purpose of monitoring your turbocharger boost pressure while driving.
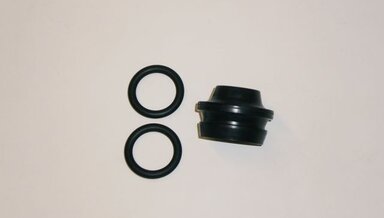
617 Turbo Diesel Turbocharger Oil Drain Tube Seals
Three seals required to repair oil leaks in the straight oil drain tube going from the bottom of the turbo into the engine oil pan. This kit is intended for those who are rebuilding their turbo and have not changed these seals before.
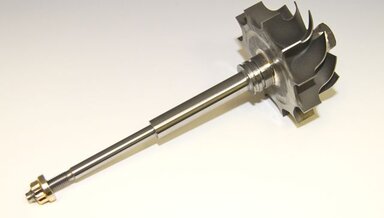
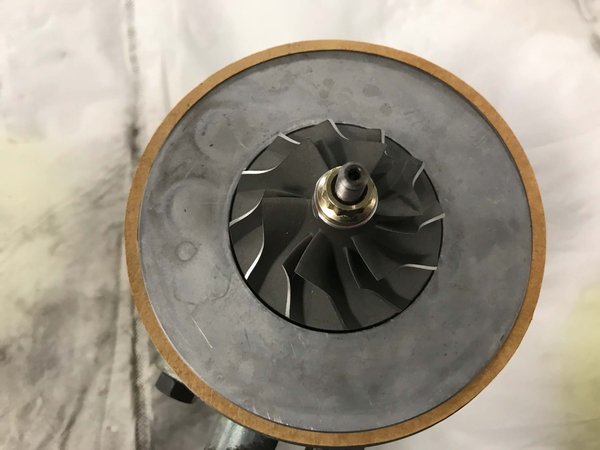
617 Diesel Garrett T3 Turbocharger Turbine Wheel ( Impeller) and Shaft
New turbo charger turbine shaft and exhaust turbine wheel as shown. This part has been highly balanced and is ready for installation. Make certain your compressor wheel is not bent or damaged as that could throw it out of balance. Comes with new shaft nut.
Garrett T3 Diesel Turbocharger Waste Gate Inspection and Testing - On Demand Video
A properly functioning and adjusted waste gate is critical to the proper operation of your early turbo charged Mercedes diesel engine.
617 Diesel Turbocharger Boost Pressure Test and Tuning Kit
With this kit, you will be able to hook up a pressure gauge to your intake manifold and route it inside your car for the purpose of monitoring your turbocharger boost pressure while driving.
1978 to 1995 Universal Diesel Performance Fuel Boost Pump Kit
This can be installed in your W116 W126 W201 W124 diesel in 60 to 90 minutes. You will use the video instructions for installing it in a W123 (included), then you will make location modifications to fit your specific chassis.