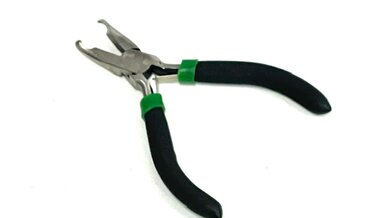
$12.85 Ceramic Fuse Easy Install Tool with Custom Jaws Fastest, easiest, and most secure way to remove and replace the fuses in your fuse box. It can get into tight places.
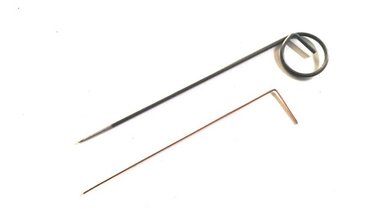
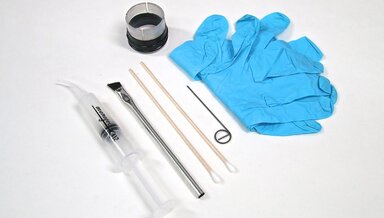
$3.85 Windshield Washer Squirt Nozzle Cleaning and Adjusting Tools 2 wire tool set - One to clean and one to adjust - watch video below for details
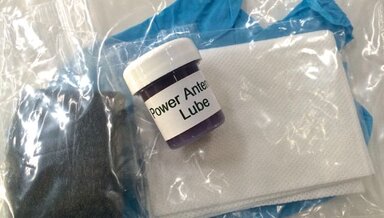
$12.60 Hirschmann Power Antenna Mast Cleaning and Lubrication Kit Extend the life of your power antenna by cleaning and regular lubrication
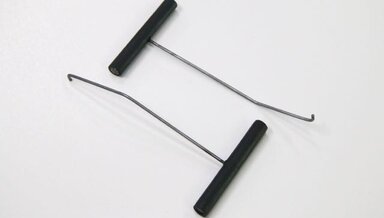
$29.75 R107 W116 W123 W126 W201 W124 R129 W140 Instrument Cluster Removal Tools With Free Video Instructions - For most models from 1972 to 1999
$39.50 Screw Cap Style Ignition Tumbler Service and Replacement Tool Kit Do tumbler service and replacement inside the car with Kent's custom tools and FREE detailed VIDEO instructions
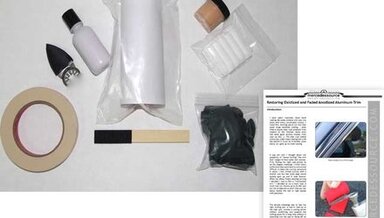
$112.50 Anodized Aluminum Window Trim Polish Restoration Kit w/ POWER TOOL Our popular Miracle Paste kit now shipped with high speed power tool included! ** PLEASE NOTE: CANNOT SHIP INTERNATIONALLY DUE TO CHEMICALS***
$69.75 Pressure Brake Bleeder *Note: this pressure tank can now perform a cooling system pressure leak test as well . Kent's 2-in-1 invention. See below to purchase the pressure testing cap.
$78.95 Anodized Aluminum Window Trim Polish Restoration Kit Bring that new car shine back to most milky and spotted window trim with Miracle Paste! A power tool is required.
$28.50 Diesel Automatic Transmission PEAK Performance Tuning Manual by Kent Bergsma Receive two related On-Demand videos FREE! Covers ALL Diesel Automatics from 1969-1984 220D 240D 300D 300CD 300TD 300SD